最近 由于使用的摄像头通过华为的IVS出来 有一个rtsp的链接 无法在web上直接访问
所以,研究了下rtsp的相关东西,找到了这么一个解决方案.
就是用服务器搭建一个直播服务端.
最开始,我在我的windows子系统试,由于我之前安装过nginx 看了下添加模块,已经没有 configure 这个东西了,所以无法加载模块
然后我就卸载nginx 重装!
下的nginx-1.18.0
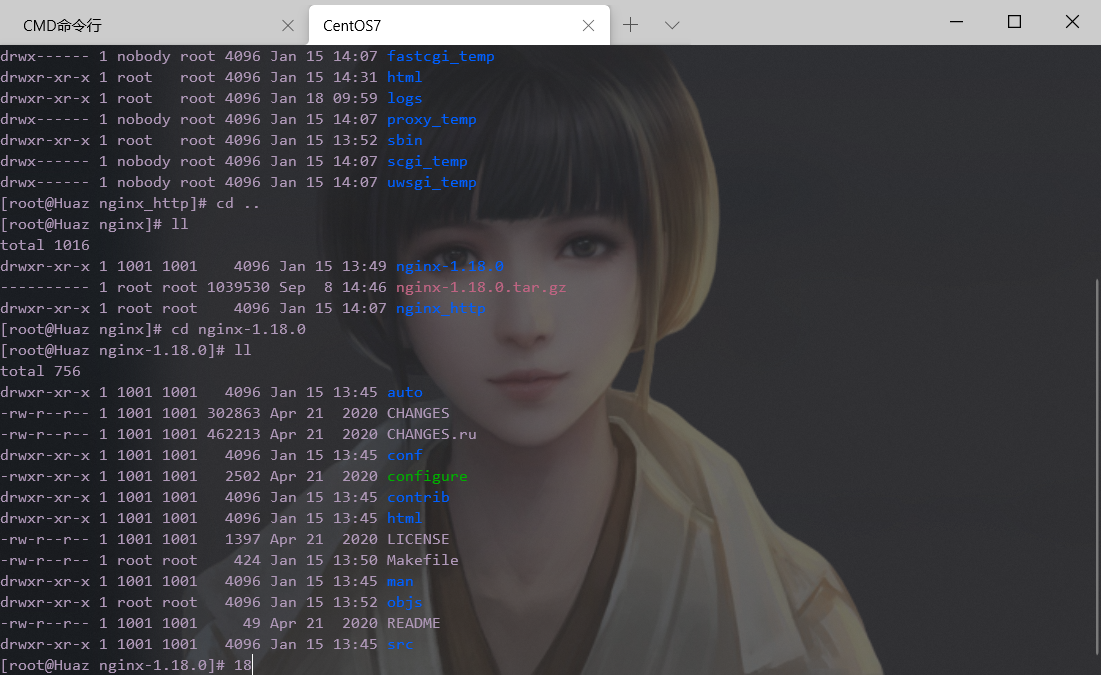
下载过后,解压 长这样
再下载一个 ngin-http-flv-module模块
推荐自己放在一个自己记得到路径的文件夹内
开始下一步(在nginx的解压目录下)
./configure --prefix=/usr/local/nginx --add-module=/usr/local/nginx/nginx-http-flv-module
--prefix=/usr/local/nginx 就是你把nginx安到哪个目录下
--add-module=/usr/local/nginx/nginx-http-flv-module 就是你的模块的路径,请根据你的实际情况来
再下一步
make && make install然后,配置文件nginx.conf (但凡涉及路径,请根据实际情况来!!!)
#user  nobody;
worker_processes  10;
#error_log  logs/error.log;
#error_log  logs/error.log  notice;
#error_log  logs/error.log  info;
#pid        logs/nginx.pid;


events {
    worker_connections  10240;
}
rtmp_auto_push on;
rtmp_auto_push_reconnect 1s;
rtmp_socket_dir /tmp;
rtmp{
        out_queue 4096;
        out_cork 8;
        max_streams 128;
        timeout 15s;
        drop_idle_publisher 15s;
        log_interval 5s;
        log_size 1m;
        server{
          listen 1935;
          server_name  127.0.0.1;
          application myapp{
                live on;
                gop_cache on;
          }
         application hls{
                live on;
                hls on;
                hls_path /usr/local/nginx/html/hls;#这里是你的hls目录
         }
         application dash{
                live on;
                dash on;
                dash_path /usr/local/nginx/html/dash;
         }
}
}
http{
    include       mime.types;
    default_type  application/octet-stream;
    sendfile        on;
    keepalive_timeout  65;
    server {
        listen       8002;
        server_name  127.0.0.1;
        location /live{
            flv_live on;
            chunked_transfer_encoding  on;
            add_header 'Access-Control-Allow-Origin' '*';
            add_header 'Access-Control-Allow-Credentials' 'true';
        }
        location / {
            root   html;
            index  index.html index.htm;
        }
        error_page   500 502 503 504  /50x.html;
        location = /50x.html {
            root   html;
        }
        location /hls{
             types {
             application/vnd.apple.mpegurl m3u8;
             video/mp2t ts;
               }
               #root /usr/local/nginx/html/hls; #这一个我是注释掉的,不注释的话注意一下路径
               add_header 'Cache-Control' 'no-cache';
        }
        location /dash {
              root /usr/local/nginx/html/dash;
              add_header 'Cache-Control' 'no-cache';
        }
        location /stat {
              #configuration of push & pull status
              rtmp_stat all;
              rtmp_stat_stylesheet stat.xsl;
        }
        location /stat.xsl {
              root /usr/local/nginx/nginx-http-flv-module;
        }
        location /control {
              rtmp_control all;
       }
    }
}然后下载ffmpeg
先 安装ffmpeg时需要提前安装yasm插件
wget http://www.tortall.net/projects/yasm/releases/yasm-1.3.0.tar.gz在解压,放在一个目录下,进去
./configure && make && make install安装一下
安装FFmpeg,解压,进入目录
wget http://www.ffmpeg.org/releases/ffmpeg-3.4.tar.gz./configure && make && make install安装会耗时很久,可以溜达一会
最后,成功后,长这样
进入bin目录下
这里贴一个可用的rtsp
rtsp://wowzaec2demo.streamlock.net/vod/mp4:BigBuckBunny_115k.movffmpeg 命令,把rtsp转成 m3u8的格式 放在 /usr/local/nginx/nginx_http/html/hls/myapp.m3u8 目录下 ,最后的那个myapp.m3u8是自己随便命名的
ffmpeg -rtsp_transport tcp -i "rtsp://wowzaec2demo.streamlock.net/vod/mp4:BigBuckBunny_115k.mov" -fflags flush_packets -max_delay 1 -an -flags -global_header -hls_time 10 -hls_list_size 10 -hls_wrap 10 -vcodec copy -s 216x384 -b 1024k -y /usr/local/nginx/nginx_http/html/hls/myapp.m3u8然后 ,就可以直接给到前端了
nginx打开,那么你的路径一般为 http://127.0.0.1/hls/myapp.m3u8(默认80端口)
用 Safari 浏览器可以直接播放,如果是谷歌浏览器,写一个web页面
前端播放m3u8格式视频
<!DOCTYPE html>
<html lang="zh-CN">
<head>
    <meta charset="UTF-8">
    <title>前端播放m3u8格式视频</title>
    <link href="https://vjs.zencdn.net/7.4.1/video-js.css" rel="stylesheet">
    <script src='https://vjs.zencdn.net/7.4.1/video.js'></script>
    <!-- videojs-contrib-hls 用于在电脑端播放 如果只需手机播放可以不引入 -->
    <script src="https://cdn.bootcdn.net/ajax/libs/videojs-contrib-hls/5.15.0/videojs-contrib-hls.min.js"></script>
</head>

<body>
<style>
    .video-js .vjs-tech {position: relative !important;}
</style>
<div>
    <video id="myVideo" class="video-js vjs-default-skin vjs-big-play-centered" controls preload="auto" data-setup='{}' style='width: 60%;height: auto'>
        <source id="source" src="/hls/myapp.m3u8" type="application/x-mpegURL"></source>
    </video>
</div>
<div class="qiehuan" style="width:100px;height: 100px;background: red;margin:0 auto;line-height: 100px;color:#fff;text-align: center">切换视频</div>
</body>
<script>
    // videojs 简单使用
    var myVideo = videojs('myVideo', {
        bigPlayButton: true,
        textTrackDisplay: false,
        posterImage: false,
        errorDisplay: false,
    })
    myVideo.play()// 视频播放
    myVideo.pause() // 视频暂停
    var changeVideo = function (vdoSrc) {
        if (/\.m3u8$/.test(vdoSrc)) { //判断视频源是否是m3u8的格式
            myVideo.src({
                src: vdoSrc,
                type: 'application/x-mpegURL' //在重新添加视频源的时候需要给新的type的值
            })
        } else {
            myVideo.src(vdoSrc)
        }
        myVideo.load();
        myVideo.play();

    }
    var src = '/hls/myapp.m3u8';
    document.querySelector('.qiehuan').addEventListener('click', function () {
        changeVideo(src);
    })
</script>
</html>
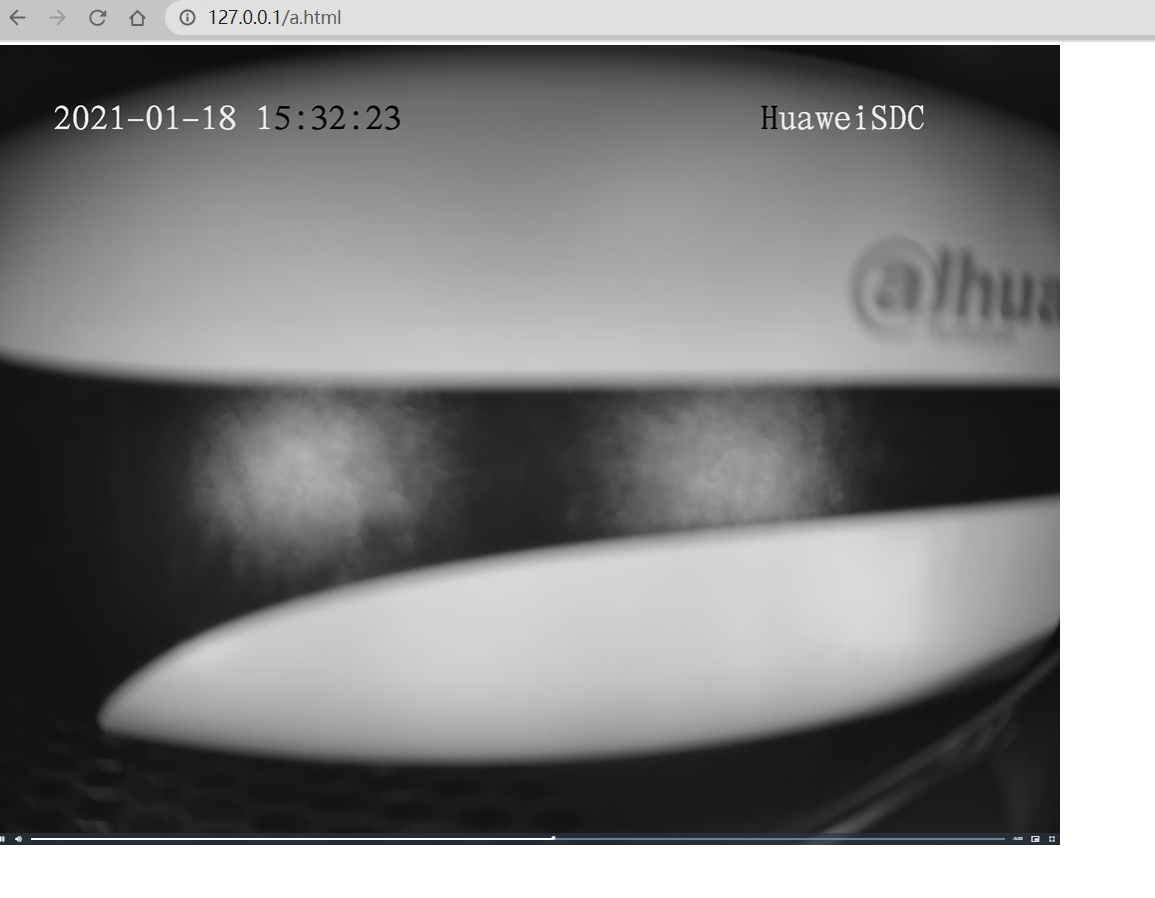
打开看看,成功!!

再说一个用途,这相当于一个直播服务器,如果不用ffmpeg的话,你可以用obs来推流!
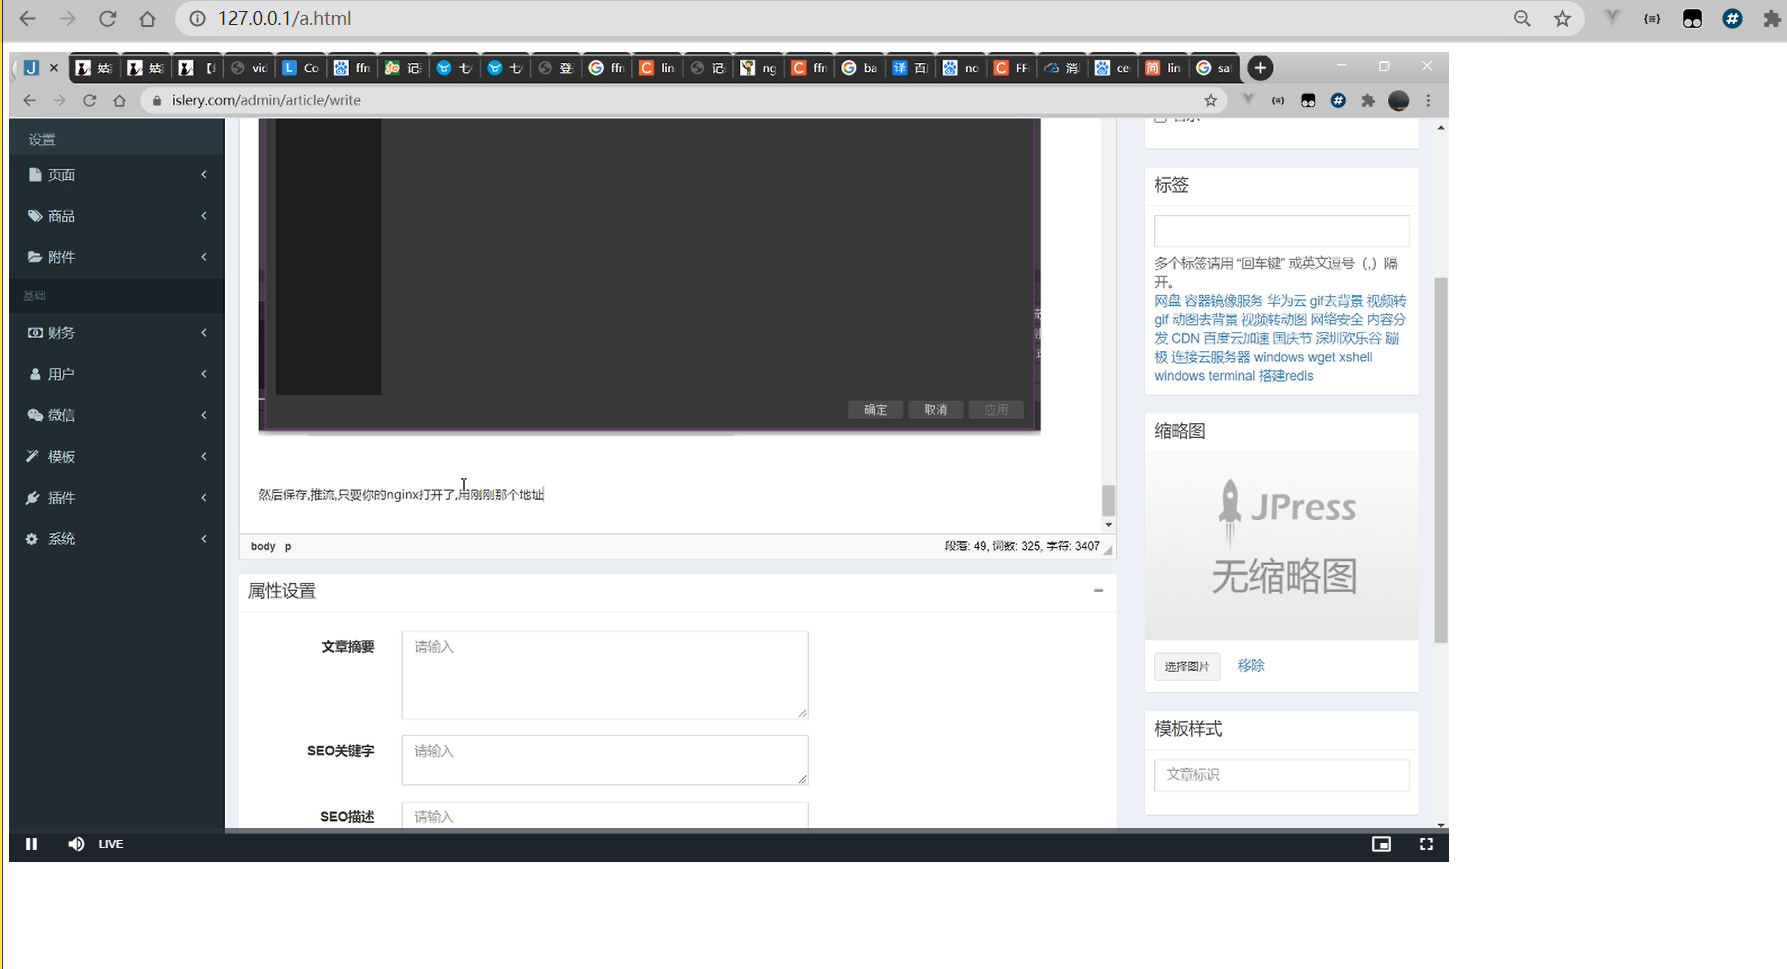
打开obs 设置 按照下面配置!

然后保存,推流,只要你的nginx打开了,用刚刚那个html就可以打开

先这样,后面再补!!有问题欢迎问!但是我大概率不知道...
2021年8月底更新
最近用华为集成的奥看转码服务,发现有上限 ,同时播放视频不满足,又折腾了下,hls的转码延迟太高,采用flv 最后结论如下
首先配置文件:基本不变(26行换成了live,规范一下,可以自定义名称的)
#user  nobody;
worker_processes  10;
#error_log  logs/error.log;
#error_log  logs/error.log  notice;
#error_log  logs/error.log  info;
#pid        logs/nginx.pid;


events {
    worker_connections  10240;
}
rtmp_auto_push on;
rtmp_auto_push_reconnect 1s;
rtmp_socket_dir /tmp;
rtmp{
        out_queue 4096;
        out_cork 8;
        max_streams 128;
        timeout 15s;
        drop_idle_publisher 15s;
        log_interval 5s;
        log_size 1m;
        server{
          listen 1935;
          server_name  127.0.0.1;
          application live{
                live on;
                gop_cache on;
          }
         application hls{
                live on;
                hls on;
                hls_path /usr/local/nginx/html/hls;#这里是你的hls目录
         }
         application dash{
                live on;
                dash on;
                dash_path /usr/local/nginx/html/dash;
         }
}
}
http{
    include       mime.types;
    default_type  application/octet-stream;
    sendfile        on;
    keepalive_timeout  65;
    server {
        listen       8002;
        server_name  127.0.0.1;
        location /live{
            flv_live on;
            chunked_transfer_encoding  on;
            add_header 'Access-Control-Allow-Origin' '*';
            add_header 'Access-Control-Allow-Credentials' 'true';
        }
        location / {
            root   html;
            index  index.html index.htm;
        }
        error_page   500 502 503 504  /50x.html;
        location = /50x.html {
            root   html;
        }
        location /hls{
             types {
             application/vnd.apple.mpegurl m3u8;
             video/mp2t ts;
               }
               #root /usr/local/nginx/html/hls; #这一个我是注释掉的,不注释的话注意一下路径
               add_header 'Cache-Control' 'no-cache';
        }
        location /dash {
              root /usr/local/nginx/html/dash;
              add_header 'Cache-Control' 'no-cache';
        }
        location /stat {
              #configuration of push & pull status
              rtmp_stat all;
              rtmp_stat_stylesheet stat.xsl;
        }
        location /stat.xsl {
              root /usr/local/nginx/nginx-http-flv-module;
        }
        location /control {
              rtmp_control all;
       }
    }
}
然后 ffmpeg 推流命令不用那么繁琐(没有优化参数)
ffmpeg -rtsp_transport tcp -i rtsp流媒体连接 -vcodec copy -acodec copy -f flv -y rtmp://localhost:1935/live/mystream
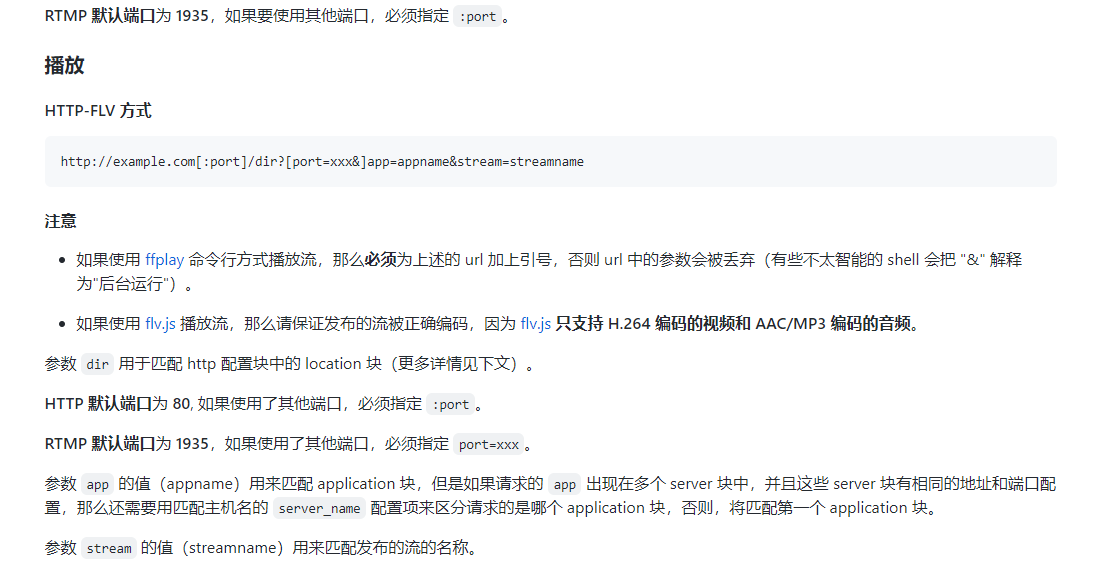
最后给到的地址是 http://example.com[:port]/dir?[port=xxx&]app=appname&stream=streamname
那么按照规则对应下来就是
http://ip:port/live?port=1935&app=live&stream=mystream官网github上解释:

延迟5s左右,后续优化应该能减少一点吧...
OVER!

